A common hesitation before installing water automation — for a home or a whole building — is simply not knowing what the process actually involves. Will it mean days of disruption? Does it require re-plumbing? Do you need to be an electrician yourself? Here’s the real, step-by-step process, for both a single home and a multi-tank building.
Step 1: Site assessment (multi-tank sites only)
For a single home with one tank, this step is usually skipped or done quickly over a phone call. For a society, hotel, hospital, or any multi-tank site, a proper vendor will do a site visit first — mapping how many tanks and motors exist, checking distances for gateway placement (if using a LoRa-based system), and confirming electrical panel access for each motor. This determines exactly how many nodes are needed and where the gateway should sit for full coverage. Skipping this step is how installs end up with dead zones or under-ordered hardware.
Step 2: Mounting the sensor
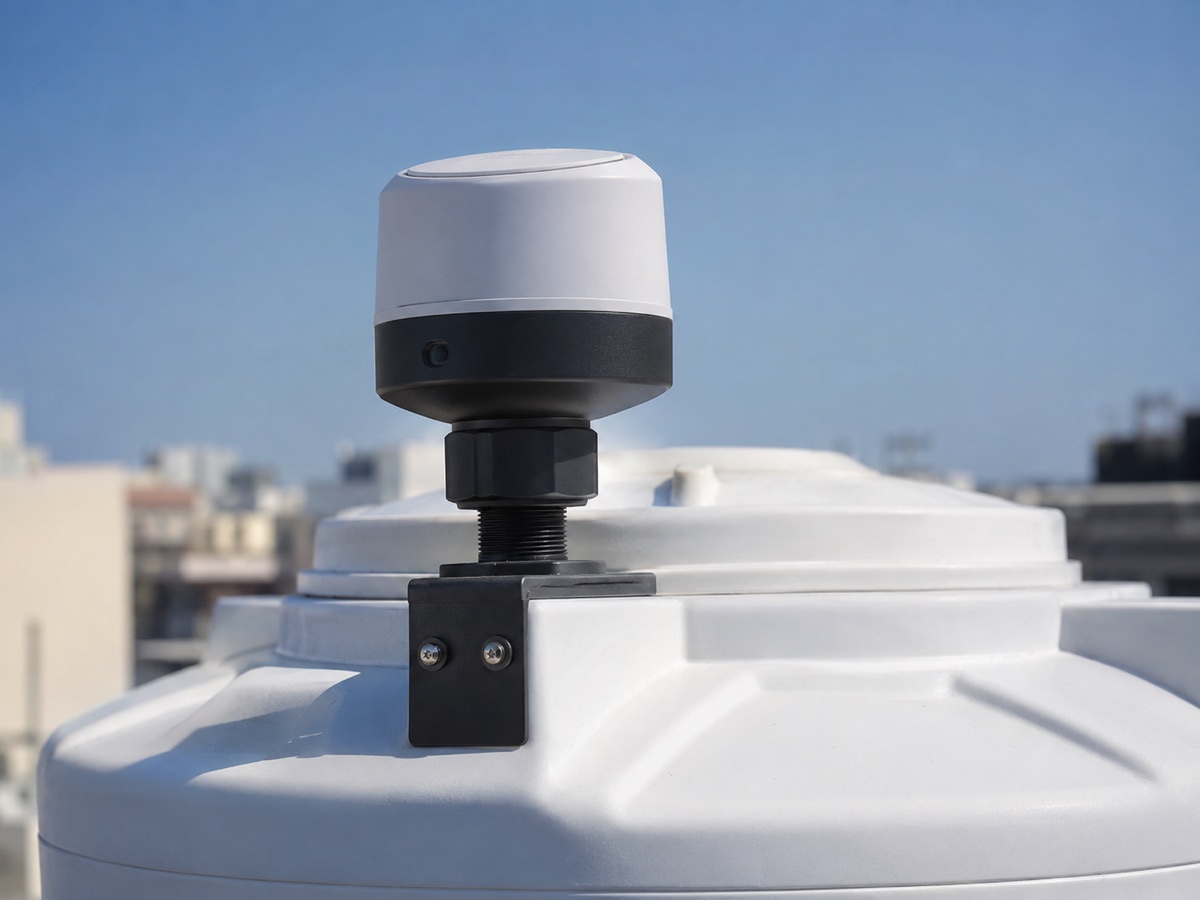
For an ultrasonic sensor, this means mounting a small unit on top of the tank, facing down at the water surface, with a bracket that fits most tank shapes without modification. No cutting into the tank, no plumbing changes. This step typically takes 10-15 minutes per tank.
Step 3: Installing the motor controller
The motor controller (relay) is wired in-line with the existing motor’s power supply, usually at the electrical panel or a nearby junction box. This is standard electrical work for a licensed electrician — the motor itself isn’t touched or replaced, only its power connection is routed through the new controller. Expect roughly 20-30 minutes for this step, depending on panel accessibility.
Step 4: Gateway setup (multi-tank sites only)
For sites using a shared gateway architecture, the gateway is mounted once — typically somewhere central and elevated, like a terrace — with a power connection and either a SIM card (4G) or WiFi for its own connection to the cloud. This is a one-time setup per site, not per tank. Once mounted, nodes within range connect to it automatically without any per-node network configuration.
Step 5: Pairing and configuration
Once hardware is mounted, the sensor and controller are paired with the dashboard/app — this is typically a quick digital step (scanning a code or entering a device ID), not a physical installation task. Thresholds (when to turn the motor on/off, alert levels) get configured at this point, either to sensible defaults or customized for the specific site.
Step 6: Testing
A proper installation includes testing the full loop — confirming the sensor reads level correctly, the motor actually responds to on/off commands from the controller, and (if applicable) that alerts reach the right person. This is usually done live during the install, running the motor briefly to confirm the whole chain works before the installer leaves.
Step 7: Handover and training
For a home, this is usually just showing the resident the app. For a building, this means training whoever will actually use the system day to day — maintenance staff, facilities manager — on the dashboard, how alerts work, and how to do a manual override if ever needed. Good installers leave a simple written guide or short video behind for this, not just a verbal walkthrough that’s forgotten by the next week.
Total time, realistically
- Single home, one tank: 30-60 minutes total, one visit.
- Small multi-tank site (a few towers): Typically 1-2 days, since each tank still needs its own ~30-45 minute install even though the process is repeated rather than more complex.
- Larger society or campus (10+ towers): Often phased over several days specifically to avoid disrupting water supply during the transition — a competent installer works in stages rather than taking the whole system offline at once.
Does water supply get interrupted during installation?
Generally no for the sensor mounting (it’s external to the tank, doesn’t require draining). The motor controller step does briefly interrupt motor power while the electrical connection is made — this is typically a few minutes per motor, timed by the installer to minimize impact (not during a peak demand window, for instance), not an extended outage.
What you should expect from the installer beforehand
A clear answer to: how many visits, how long each will take, whether water supply is interrupted and for how long, and what (if anything) you or your maintenance staff need to have ready (electrical panel access, someone available to confirm testing). If a vendor can’t answer these clearly before the install day, that’s worth asking about directly.
Frequently asked questions
Do I need to be present for the entire installation?
For a home, being available for the testing and handover step (the last 10-15 minutes) is usually enough — the mounting and wiring steps don’t require your active involvement. For a building, whoever’s designated to receive training should be present at least for that final step.
What if my tank is in a hard-to-reach location?
Ultrasonic sensors just need line of sight to the water surface and physical access to mount the bracket — unusually difficult access (very tall towers, restricted areas) may add time but doesn’t typically prevent installation.
Can installation happen without an electrician, if I’m comfortable doing it myself?
The sensor mounting itself doesn’t require an electrician. The motor controller wiring does involve working with the motor’s power supply, which should be done by a licensed electrician or someone comfortable with basic electrical work — this isn’t a step to DIY without relevant experience.
